
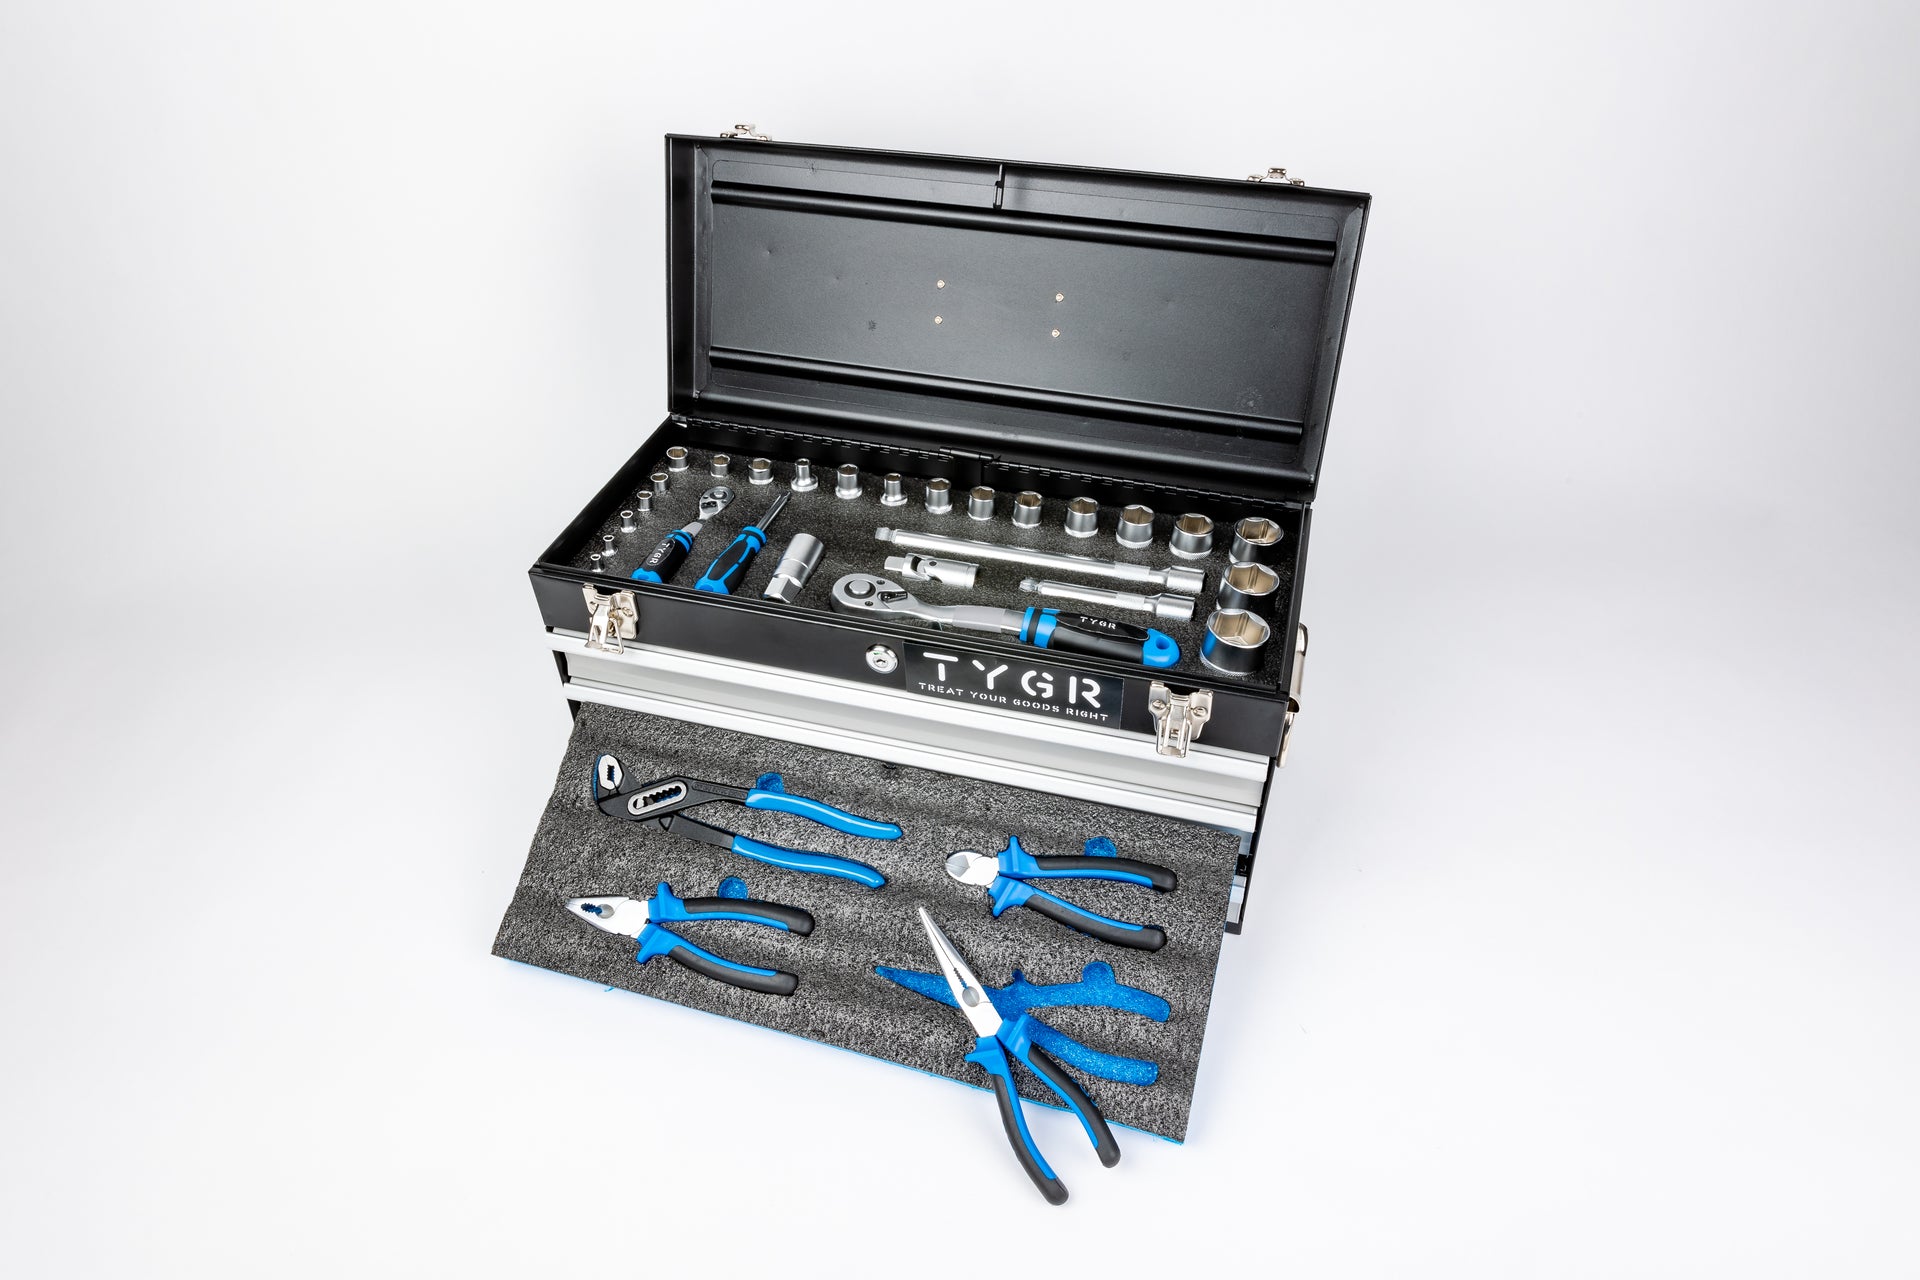
Build your own tool insert with our TYGR multilayer foam
How does multilayer foam actually work?
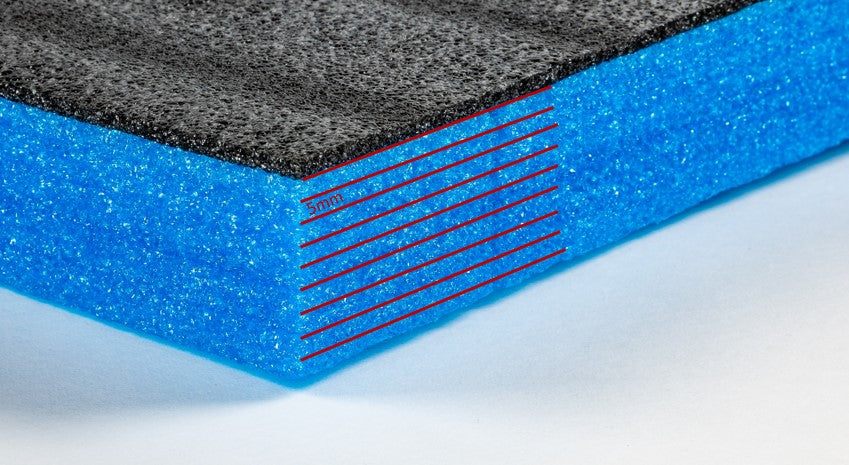
Our TYGR multilayer foam consists of 5mm layers glued together. In the picture on the right, the individual layers are marked in red. The bonding was designed to ensure the best possible compromise between hold and handling. No adhesive residue remains when the layers are separated. This makes the application very simple. You cut to the desired depth and then separate the upper layers.
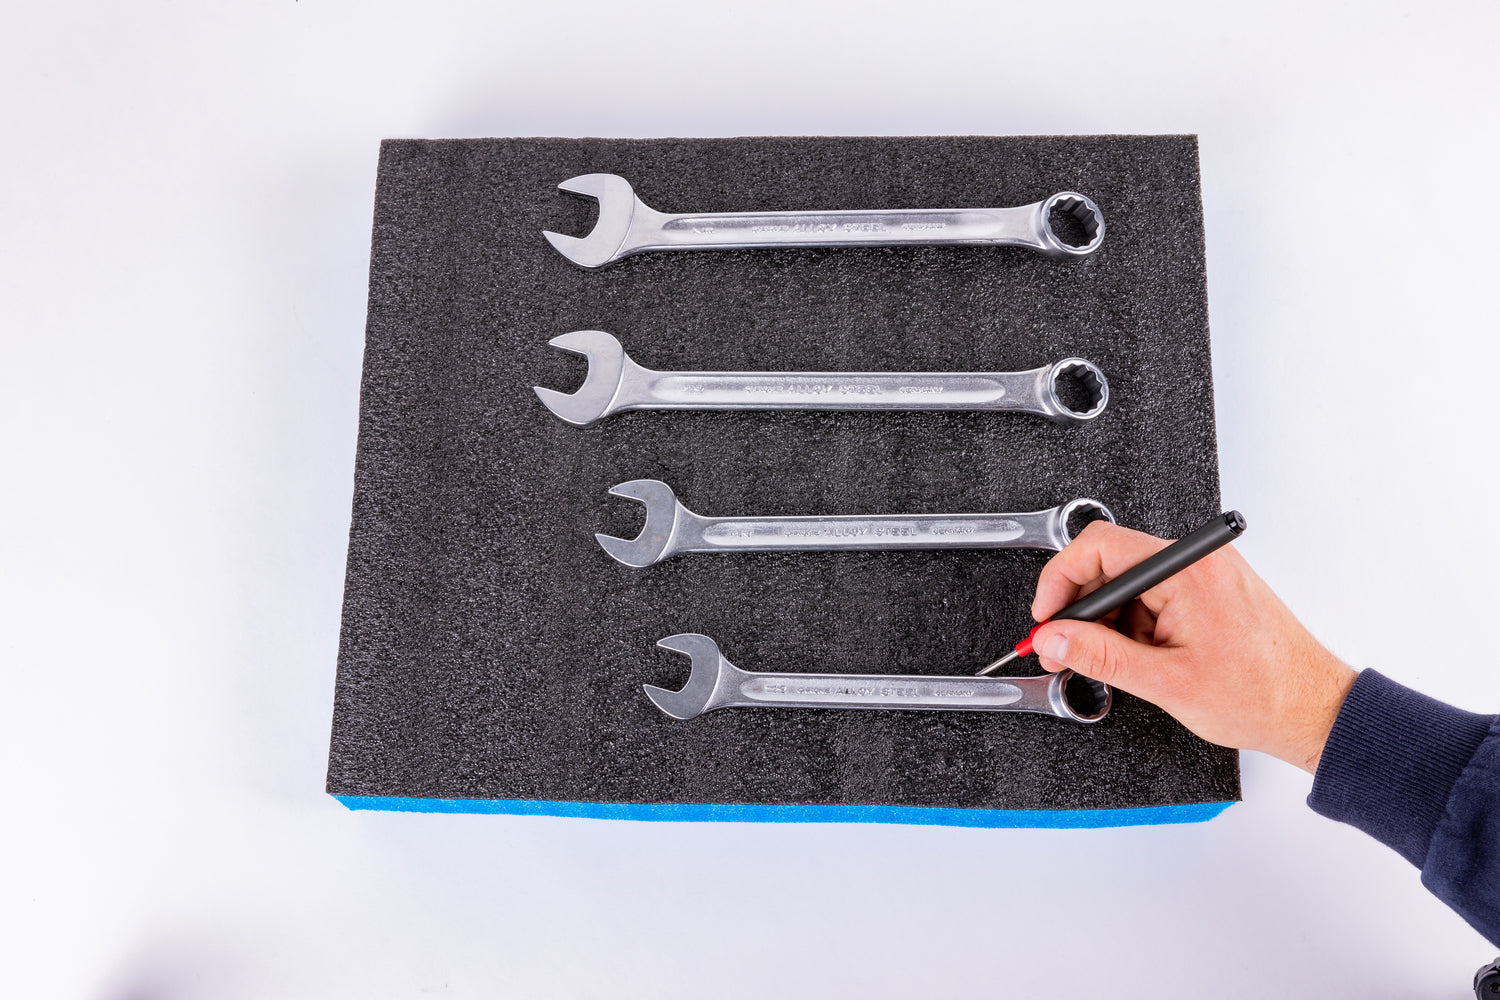
Step 1: Position your items
Arrange your items on the foam as you like.
Step 2: Marking
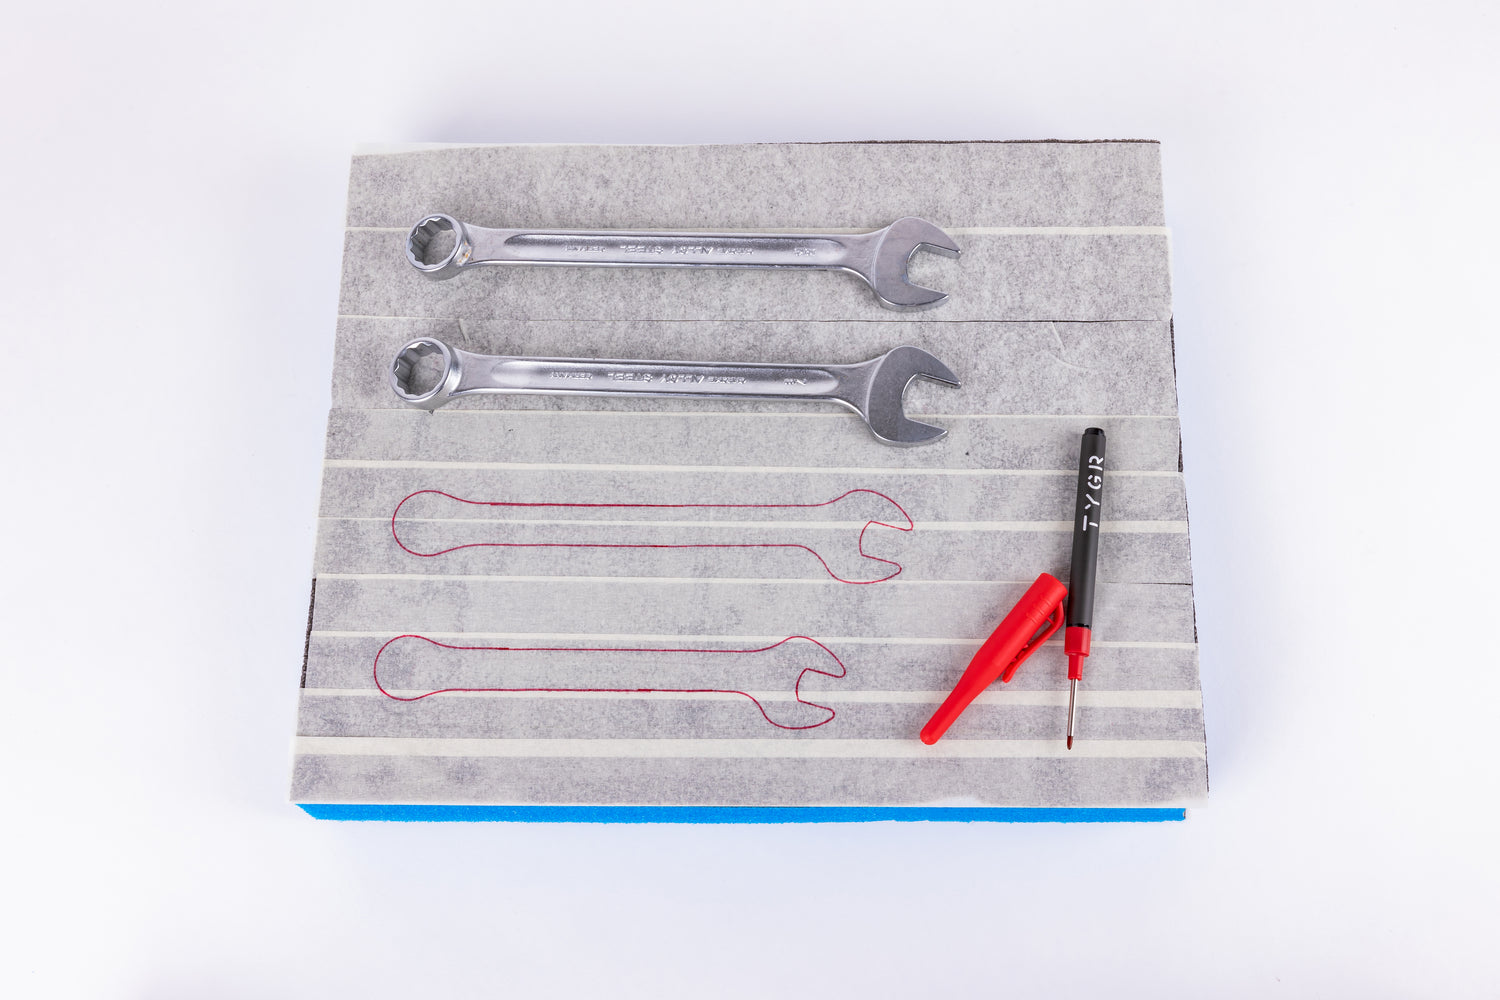
Draw the outlines of your objects with a suitable pen (e.g. with our TYGR Maker).
Tip: Stick masking tape on the foam for better visibility.

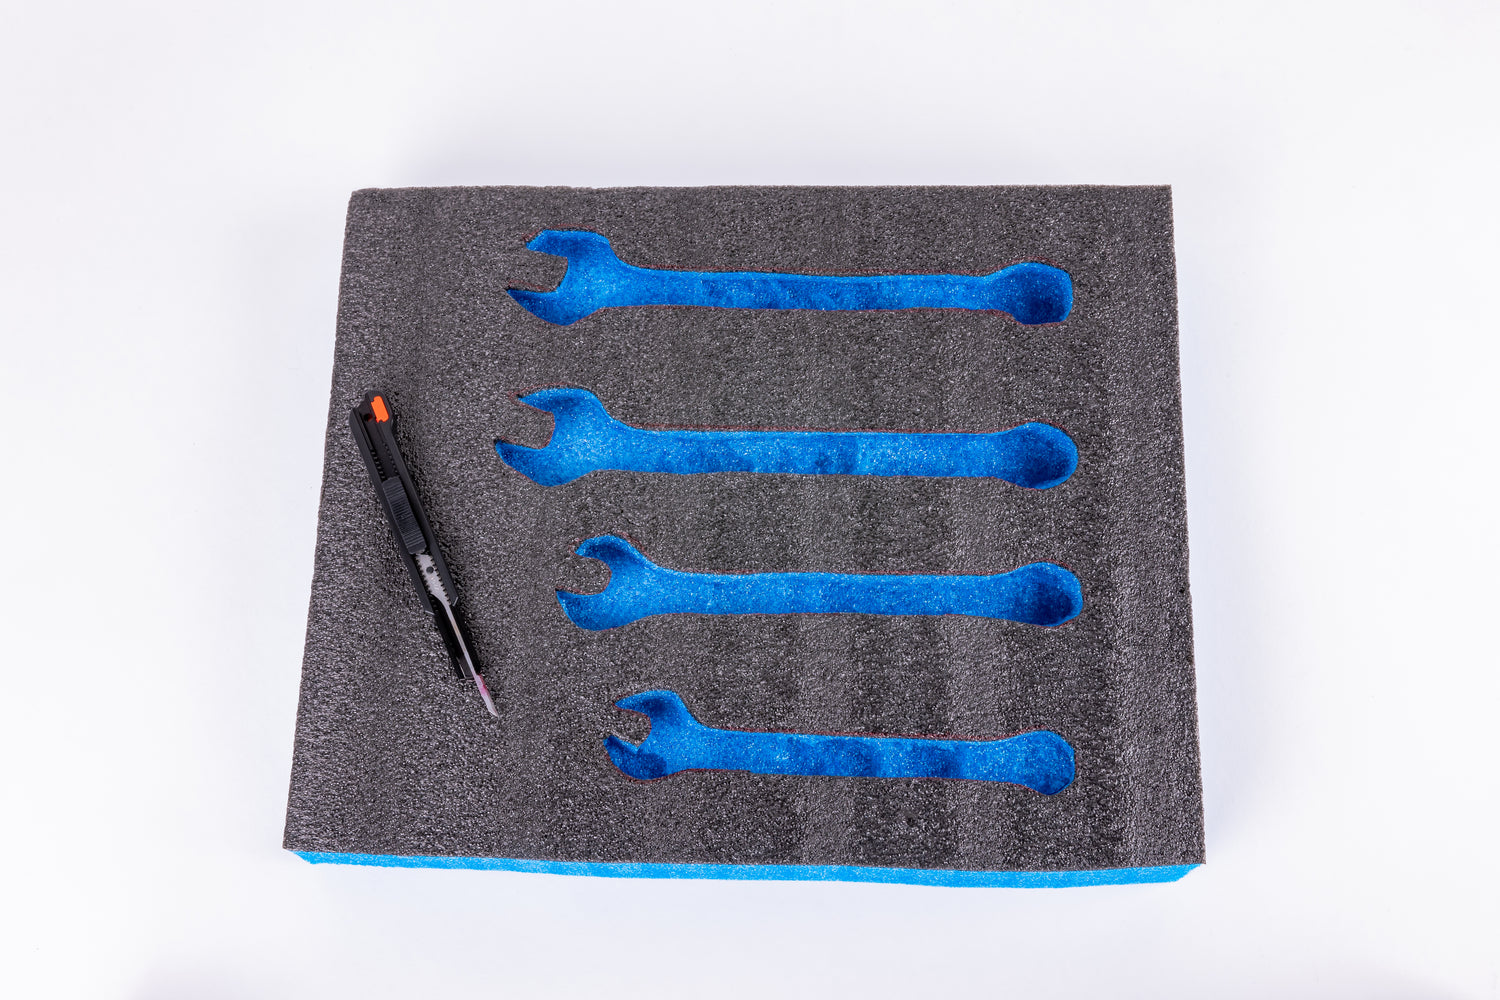
Step 3: Cutting and removing the foam
Set your cutter knife to the desired height and cut out the foam according to your markings. Then reach under the deepest cut layer with your finger and separate the top layers from the bottom ones.
Step 4: Cut out all the cutouts
Repeat step 3 and gradually cut along your marks and then separate the appropriate layers.
Tip: If you have large items, it is best to cut them in several steps. Start with a very narrow cut so that you can sink your object slightly. Then repeat the whole thing until you have the perfect shape and depth.

Step 5: Test the foam cutout
Try to put your items in the appropriate places. If you need more depth, you can always cut out additional layers and rework the foam.
We hope you have fun building your individual TYGR foam inserts!
Your TYGR Team